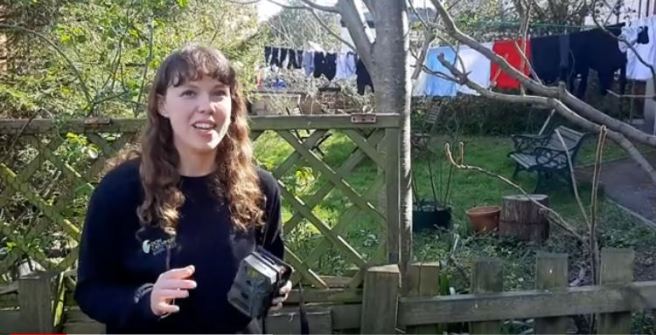
In this blog we hear from Community Engagement Officer, Sally Hyslop, on investigating the wildlife in your garden.
Barn owls, foxes and otter pups are just a few of the incredible beasties we’ve captured on our riverside wildlife cameras over the past year. We’ve been amazed at the results, able to capture footage of animals hunting, foraging and even playing on the riverside.
But trail cameras aren’t limited to wild, remote places, and if you have a private garden* you have the potential to capture some incredible footage while you’re at home. In this blog we’re going to show you how to set them up to investigate the hidden wildlife in your garden.
Buying your camera
Wildlife cameras vary in price, with some costing a few hundred pounds. If you want to invest in a very good camera we recommend buying from Nature Spy, but you can get a cheaper one for around £50, with even supermarkets occasionally retailing them. They’ve come down a lot in price so even these cheaper ones capture great footage and sound, at day and night.
As well as the camera, you will need to purchase a memory card (we use a 32GB SD card) and lots of AA batteries. The camera we use takes eight – however this could keep it going for a few months. If your garden isn’t very secure you can consider using a small bike lock to keep it in place.
Set up
Think about what animals you are trying to capture – most British wildlife such as foxes, badgers and hedgehogs will forage fairly low to the ground, so positioning your camera about a metre off the ground should work well for most gardens. Think about where in your garden might best attract these visitors, such as a pond, hedgerow, scrubby area or secluded patch.
Find a tree or post you can easily wrap the camera strap around and secure your camera well with the strap, incase some curious squirrels investigate it. For best results, angle the camera slightly towards the ground – you can wedge a stick behind the camera to do this. It’s worth spending a little time getting this right, and doing some practise shots.
One thing you want to avoid is the camera capturing ‘false’ triggers which waste your battery, fill your memory card and make processing your footage a real pain. The camera’s sensors trigger recording when they pick up movement and a change in temperature. This means they can be mistakenly triggered, for example by a branch that has been warmed up by the sun and blown into view. The camera has quite a wide range of vision so make sure the whole area around it is clear from branches and vegetation – this may mean a little pruning. If you want to capture good quality images, make sure to position your camera towards the north or south to avoid dazzling sun rises and sunsets.
We’d love to hear about your wildlife camera projects, so if you have been inspired and capture any photos or footage you’d like to share, please get in touch!
*These tips are for setting up a camera in a private garden, rather than public parks or footpaths, for which you’d need landowner permission and signage.

You must be logged in to post a comment.